fbpx

Make Friends With the E6B

Whether the mechanical version, the electronic version, or the app, it can give you important help when you need it.

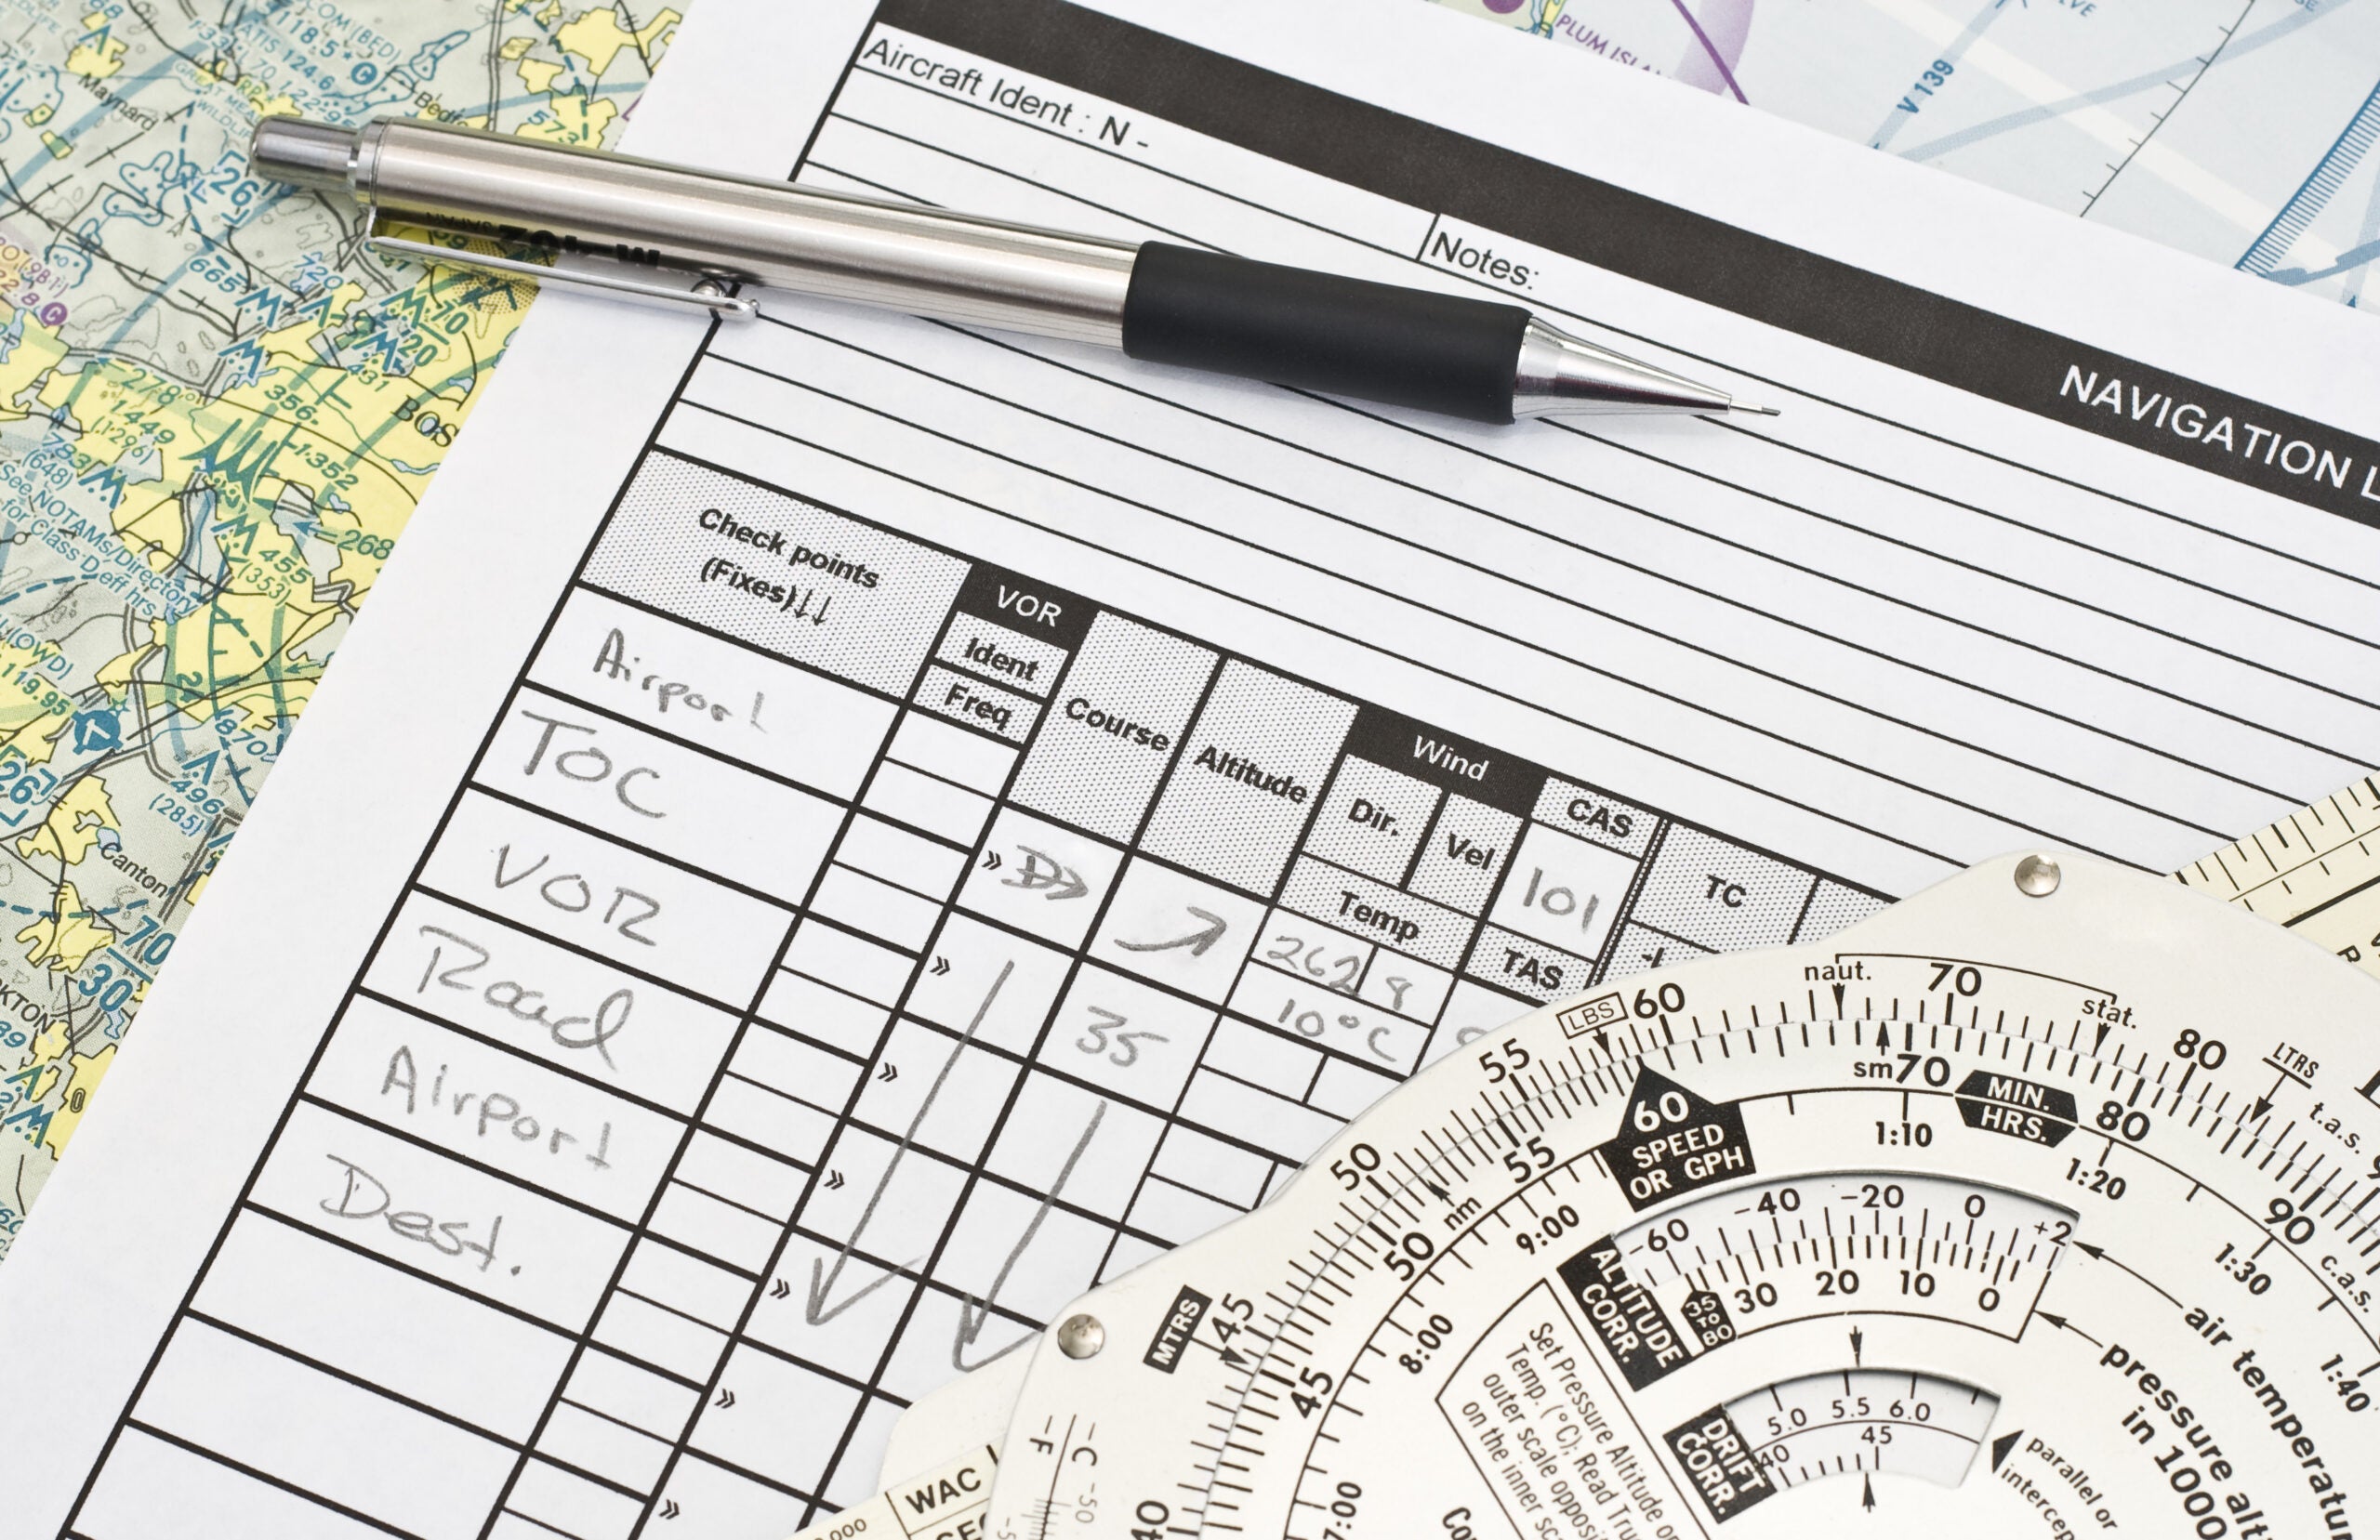
The ability to use a mechanical E6B flight computer—a form of a circular slide rule that helps calculate things like fuel burn, wind correction, and time en route—is the “cursive writing” of the aviation world. Once taught in every flight school and used in every cockpit, it is increasingly rare as other technologies—apps and the electronic flight computer—have replaced it. Some people might argue that the mechanical E6B “flight confuser” is old technology and should be retired. However, it still works for solving performance questions, and there are still pilots who prefer it.

I own both mechanical and electronic E6B flight computers. And, I teach both because as long as they are both used in the aviation world, it is my responsibility to show them to learners.

Price Can Dictate Use

The mechanical E6Bs run from $12 to $15, while the metal ones are typically $40 to $50. The electronic versions result in more precise calculations and cost about $80 to $120. Batteries, usually AA, AAA, or the lithium coin type are extra.

The Mechanical E6B

The mechanical E6B is the more versatile descendant of the government issued G-1 True Airspeed flight computer from World War II. The G-1 was round, about 8 inches across and made from Bakelite, an early form of plastic. It was issued to flight crews in the U.S. military. (I have one of these vintage devices—it is dark brown with light brown lettering. It was used on a B-17 and even has the old Boeing logo including the totem pole on it.)

For the VFR pilot, nothing can replace pilotage, and looking out the window and locating those landmarks you put on your navlog is one of the best parts of being a pilot. You can’t get that from an app.

The modern E6B can be made of cardboard, plastic, or metal. No matter what material it is made from, it looks intimidating—all those numbers, all those scales—but once you read the directions (which are printed on the instrument) and do a few practice calculations, learning can take place.

Start by simply looking at the device, noting the different scales. Most of the devices come with instruction manuals to help you figure them out. There are also numerous videos online that can help you get up to speed. On the calculation side, you find the instructions to determine density altitude, time, speed, and distance, plus fuel consumption and the true airspeed to calibrated airspeed conversion. For visual and kinetic learners, seeing the big picture on the mechanical E6B and how the scales relate to each other can be very useful. 

Note the scales for distance measurement on the sides of the instrument and the temperature conversion scale at the bottom. 

The wind side helps a pilot determine ground speed and wind correction angle. When marked up to determine ground speed and the wind correction angle, the device can be very effective to teach the concept of crosswinds and even VORs, because the wind side resembles a VOR compass rose.

Pro tip: When using the manual E6B for cross-country flights—mark the different winds with different symbols. For example, 3,000 feet with an *, 6,000 feet with an X, etc., and do not erase the mark until the end of the flight because if you have to divert, you save the step of re-marking the wind dot.

Electronic E6B

The electronic E6B tends to be favored because it resembles a calculator, which most people (by the time they are old enough to begin flight training) have used a few times. The formulas for the calculations are often printed on the backside of the instrument. Just like the manual version, it takes time to read all the instructions. The electronic version is more precise than the manual device; however, the screen can be difficult to read in direct sunlight. Also, some of the devices go through batteries quickly, so always have spares—and the instructions can wear off or be scratched off if the unit is stuffed in a gear bag or dropped on the ramp. 

E6B Apps

We live in an app-happy world. There are several E6B apps to choose from, including apps from flight training powerhouse Sporty’s and flight planning powerhouse ForeFlight. For the pilot who uses an iPad, the app can be a good fit—provided you know how to use it before you need to use it. There are pilots who use a hybrid approach—using the app or the electronic one when they do their flight planning and navlog, then switching to the mechanical E6B in the airplane.

It can be distressing when the learner has only used the apps that generate an electronic navlog and hasn’t learned the basics of flight planning, such as how to calculate ground speed, time en route, density altitude, or wind correction angles—all things determined with the E6B and necessary when completing a navlog.

Some learners present the attitude that they do not need to know how to use an E6B or complete the navlog because “there is an app for that.” A few claim they’ve been told it is an antiquated skill, as an app is more efficient. That may be true, but when the GPS and ForeFlight are turned off and the magenta line goes away (and you know that will happen during your check ride), you lose the ability to determine ground speed or time en route, and the ability to divert goes missing as well. Learn how to do a paper navlog and use an E6B as a backup—just like you learned basic math with a pencil and paper. 

While I appreciate anything that increases efficiency and reduces a pilot’s workload in the cockpit—like having an app do all the math or the magenta line showing you the way—it concerns me when it comes at the expense of basic cross-country skills. For the VFR pilot, nothing can replace pilotage, and looking out the window and locating those landmarks you put on your navlog is one of the best parts of being a pilot. You can’t get that from an app.

Login

New to Flying?

Register

Already have an account?