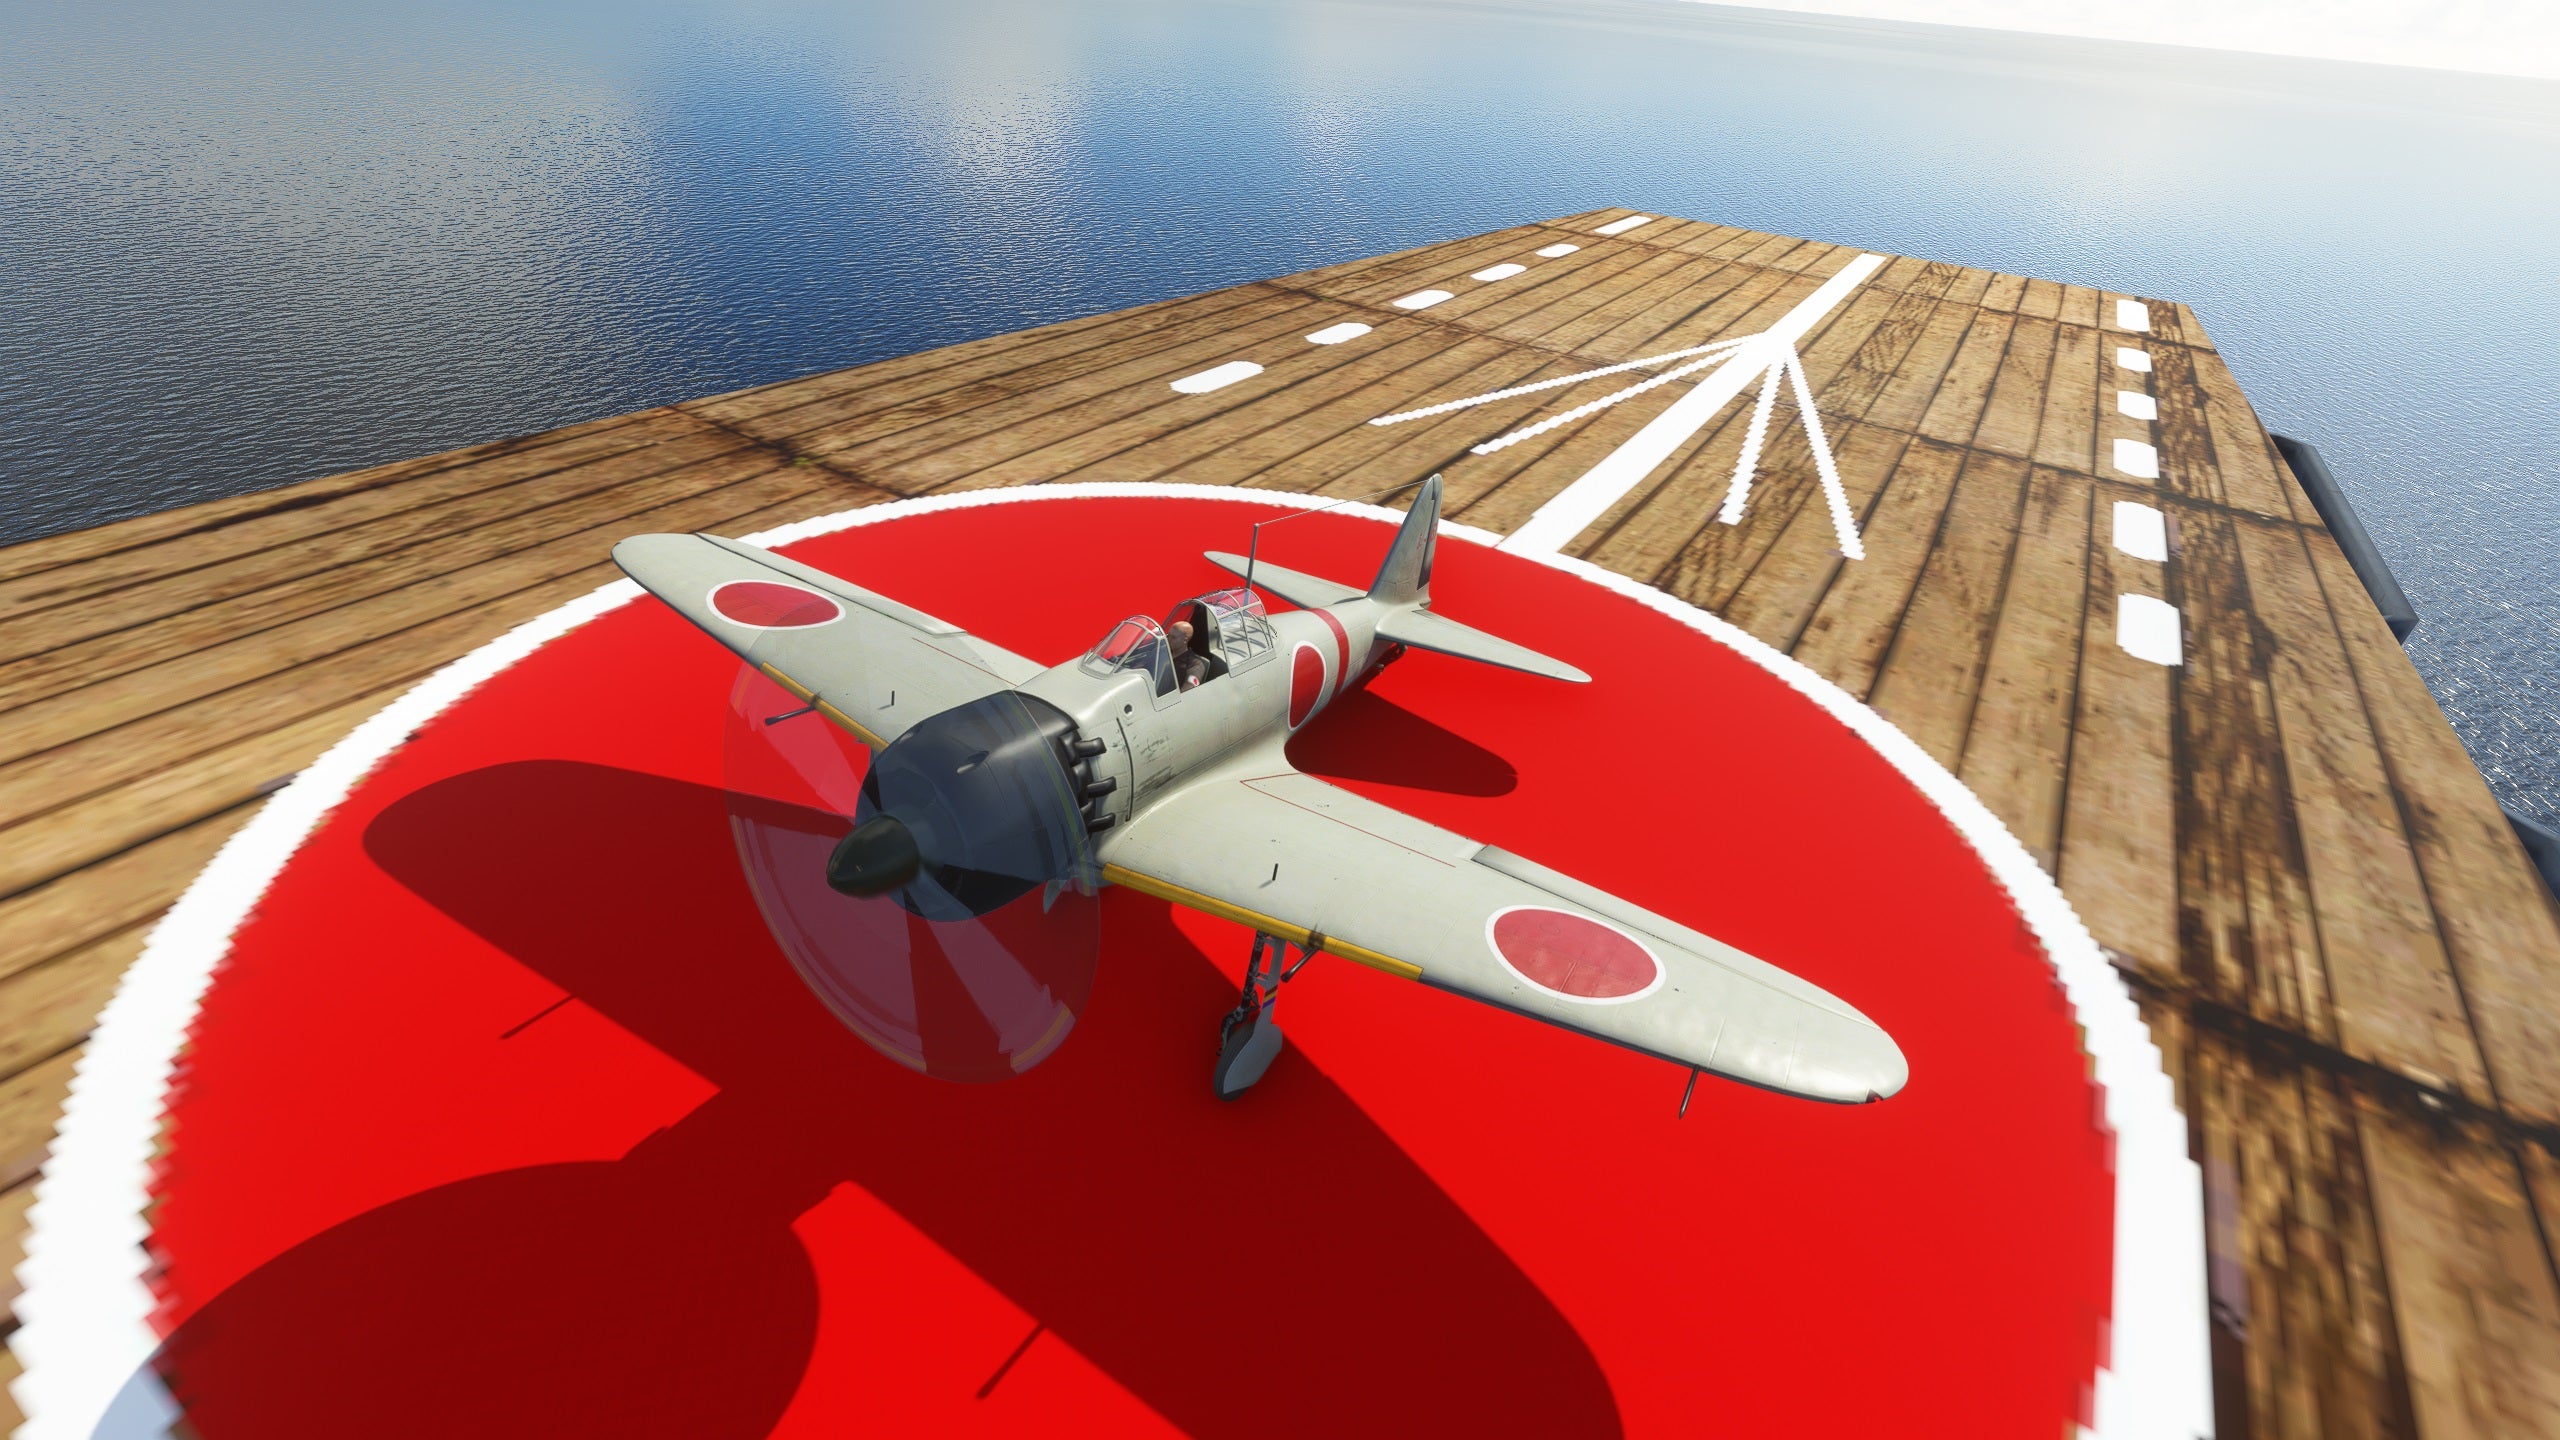
fbpx

Flying Over the Pacific in a Japanese ‘Zero’

Ride along on a Microsoft Flight Simulator 2020 journey in a Mitsubishi A6M2.

For this session in Microsoft Flight Simulator 2020, I’m flying the Mitsubishi A6M2, Japan’s main fighter of World War II, famously known as the “Zero.”

Introduced in 1940, the A6M was dubbed the Navy Type 0 carrier fighter or Reisen (零戦, “Zero Fighter”) for short, in reference to the Imperial Year 2600.

To set the scene here, I’ll be taking off from the Japanese aircraft carrier Akagi and flying over Midway Island, recreating the first wave attack in the Battle of Midway on June 4, 1942.

[Image courtesy of Patrick Chovanec]

The paint scheme on this particular airplane shows it belongs to a fighter squadron on the Akagi, as it would have looked during the attack on Pearl Harbor, and—very likely—during the Battle of Midway just six months later. While it may look white or light gray from a distance, the color is actually a kind of greenish-cream color. It’s not for naval camouflage—it just happens to be the color of the special coating used to protect the aluminum from corrosion, especially at sea.

Later in the war, camouflage from U.S. air attacks became more important and many land-based Zeros were painted green on top. The paint tended to flake off, however, and left the airplanes more vulnerable to corrosion. But that wasn’t their main priority anymore.

[Image courtesy of Patrick Chovanec]

Inside the cockpit, the main instrument panel is topped by the breech and charging handles of twin 7.7 millimeter machine guns that fire over the nose. I’ve tried to find out, but I’m not sure what the characters, which seem to be numbers (736 and 245), signify and would love to know.

On the left side of the instrument panel, from left to right, are the heading indicator, clock, and airspeed indicator on top, and the vertical speed indicator, magneto switch, and altimeter on the bottom. On the right side of the panel are the engine gauges. The top left is rpm, and the bottom left is manifold pressure. (The Zero has an adjustable-pitch, constant-speed propeller). 

Typical of most World War II-era fighters, the power controls are to the pilot’s left-hand side. The black metal lever on the wooden throttle fires the airplane’s guns. The two red-knob levers below them are bomb releases.

[Image courtesy of Patrick Chovanec]

On the pilot’s right-hand side are levers for the flaps and landing gear, operated by hydraulics. Unlike the American F3F and F4F fighters, the gear didn’t have to be cranked by hand, but the pilot did need to switch hands on the stick to operate them. The cockpit is a tight fit, designed for smaller-stature Japanese pilots, who at this early stage of the war were extremely well trained.

Japanese aircraft carriers didn’t have catapults, so it’s just a straight run down the deck at max throttle to pick up enough speed.

[Image courtesy of Patrick Chovanec]

The A6M Zero was designed in 1937 as a replacement for the A5M. Contrary to many movie portrayals, it was the A5M (aka Type 96) that participated in Japan’s initial invasion of China. It also was an all-metal monoplane but had fixed landing gear and an open cockpit.

When the design competition was announced, Japan’s navy set such high standards for climb, speed, size, and range that manufacturer Nakajima considered the task impossible and dropped out, leaving only Mitsubishi’s team.

Mitsubishi’s lead aircraft designer, Jiro Horikoshi, believed it was possible to meet the demanding performance specifications and set out to prove it. The key was to reduce weight to the absolute minimum. To do this, the Zero was constructed from a top-secret aluminum alloy, which was very strong but very thin.

[Image courtesy of Patrick Chovanec]

As a result, the Zero had a range of more than 1,900 miles with a single drop tank, the longest range of any single-engine fighter of WWII and ideal for a carrier-based striker. It also had an astounding climb rate and was extremely maneuverable. This lightweight design also came with vulnerabilities: The Zero had no armor. In fact, that red square on its wings, above the flaps, is actually a no-stand zone because the skin is so thin that it can’t support the weight of a person.

Check out the Akagi below me. Originally designed as a battlecruiser, it was converted to an aircraft carrier after the Washington Naval Treaty of 1922 with the help of Japan’s then naval allies, the British.

[Image courtesy of Patrick Chovanec]

Akagi means “Red Castle” and was named after a mountain in Japan. Modernized in the 1930s, it could carry 66 airplanes, including 18 to 21 Zero fighters. The decks are slanted to a peak to slow aircraft on landing and help accelerate them on takeoff.

Nearby, I fly over the Kaga, the Akagi’s companion carrier at both Pearl Harbor and Midway.

The Kaga will be sunk by sundown, and my own carrier, the Akagi, will succumb to damage and slide beneath the waves the next morning. The attack fleet’s other two carriers, the Soryu and Hiryu, will also be sunk in this battle. But I get ahead of myself.

[Image courtesy of Patrick Chovanec]

It’s time for me to head to Midway. The Japanese strike on Midway in June 1942 was an attempt to lure the U.S. carriers not destroyed at Pearl Harbor into a fight. However, the Americans were able to decode Japan messages that gave them prior warning of the plan, enabling them to position their three available carriers (USS Hornet, USS Enterprise, and USS Yorktown) for a surprise counterattack.

The Japanese opened with a carrier-based air attack on Midway itself, believing any U.S. aircraft carriers must still be far away. Time for me to drop my drop tank.

[Image courtesy of Patrick Chovanec]

Midway consists of two islands. The larger Sand Island to the west hosted a naval base, seaplane harbor, and fuel depot.

[Image courtesy of Patrick Chovanec]

The smaller East Island hosted an airfield with fighters and long-range bombers.

[Image courtesy of Patrick Chovanec]

The Zero was armed with two 7.7 mm (approximately 30 caliber) machine guns in the nose, plus two 20 mm cannons in the wings. That was some pretty strong firepower, compared to comparable Allied fighters early in the war.

[Image courtesy of Patrick Chovanec]

Now here’s an interesting tidbit: The Zero’s engine is basically a copy of the Wright Cyclone and Pratt & Whitney Twin Wasp engines. The Japanese had licenses to produce the Douglas DC-3, including engines, before the war, and reengineered those R-1820/R-1830 engines for the A6M.  They produced 950 hp and were basically identical to the versions of those engines used in the B-17—so much so that restored Zeros that fly today typically use the Pratt & Whitney engine, which fits perfectly.

In early dogfights with the Zero, Allied aircraft were completely outclassed. In China, Zeros boasted a kill ratio of 12-to-1. However, in July 1942—a month after Midway—a Zero crashed in Alaska’s Aleutian Islands and was recovered and brought to San Diego for study, revealing some of the airplane’s hidden vulnerabilities.

For one thing, to save weight, the Zero eschewed the heavy rubber, self-sealing fuel tanks that were becoming common in other fighters. This led to a tendency for it to catch fire and explode when hit. For another, the large ailerons that made the Zero extremely maneuverable at low speeds made it harder to turn at high speeds because of the airflow it had to deflect.

[Image courtesy of Patrick Chovanec]

Engineers also learned the Zero had a poorly designed carburetor that caused the engine to sputter in a dive.

All of these secrets helped the Americans design tactics to exploit the Zero’s weaknesses (diving, high-speed turns, no armor) and overcome its strengths (climbing, low-speed maneuvers).

[Image courtesy of Patrick Chovanec]

In another sense, the Zero was a victim of its own success. Because its designers had so creatively pushed it to its limits, there was little room for improvement in future models to keep pace with new developments. It was as good as it would ever be. While U.S. aircraft—notably the P-38 Lightning, F6F Hellcat, and P-51 Mustang—either made or represented major improvements on previous designs, the Zero remained unchanged and continued in production through 1945.

The initial Japanese attack on Midway was largely successful, seriously damaging the U.S. facilities on the two islands and setting the oil depot ablaze. However, it wasn’t enough. The raid leader reported back that a second wave would be needed to finish the job.

[Image courtesy of Patrick Chovanec]

This news led to a series of delays at the Japanese carriers that made them easy prey for the surprise counterattack that was coming from the American carriers quietly lurking nearby. While all but one of the U.S. torpedo bombers were shot down, and every one of them missed their targets, the Americans’  dive bombers caught the Japanese carriers with fully fueled and loaded aircraft on their decks, setting off a chain of devastating explosions. By the next day, all four Japanese carriers had been sunk.

Right now, I’m ready to land back at the Akagi, not knowing what fate has in store.

The destruction of the Akagi and three other Japanese carriers dealt a severe blow to the Japanese Imperial Navy, mainly because so many experienced pilots were lost. It’s one of the reasons that many consider the Battle of Midway to be the turning point in the Pacific war.

Here I am coming in at around 70 to 80 knots to hit the arresting wires on the Akagi.

[Image courtesy of Patrick Chovanec]

Even though it was outclassed by later U.S. airplanes, the Zero could hold its own in a dogfight—so long as it was flown by a capable pilot. The problem was most of those pilots had been killed at Midway. By war’s end, the mighty Zero was relegated to serving as a flying bomb in the hands of relatively untrained pilots, as kamikazes on a one-way trip to take out U.S. ships. Out of the nearly 11,000 Zeros produced, only two are still flying, along with a handful of airframes on display in various museums.

[Image courtesy of Patrick Chovanec]

Thanks for joining me on this flight. If you’d like to see a version of this story with more historical photos and screenshots, you can check out my original post here.

This story was told utilizing the A6M5 Zero add-on to MSFS2020 from Romantic Wings, along with sceneries produced by fellow users and shared on flightsim.to for free.

Login

New to Flying?

Register

Already have an account?