fbpx

Setting Up Your Sim

Here’s the second in our series on getting started with an at-home flight simulator.

If you’re beginning to entertain the idea of purchasing your first airplane, you likely have dozens of aircraft reviews and buyer’s guides bookmarked in your browser. You’ve probably learned how important it is to match an airplane’s capabilities to the sort off lying you expect to do most often. And if your daydreaming has evolved into analysis, you might have already begun to narrow your choices to a handful of potential candidates.

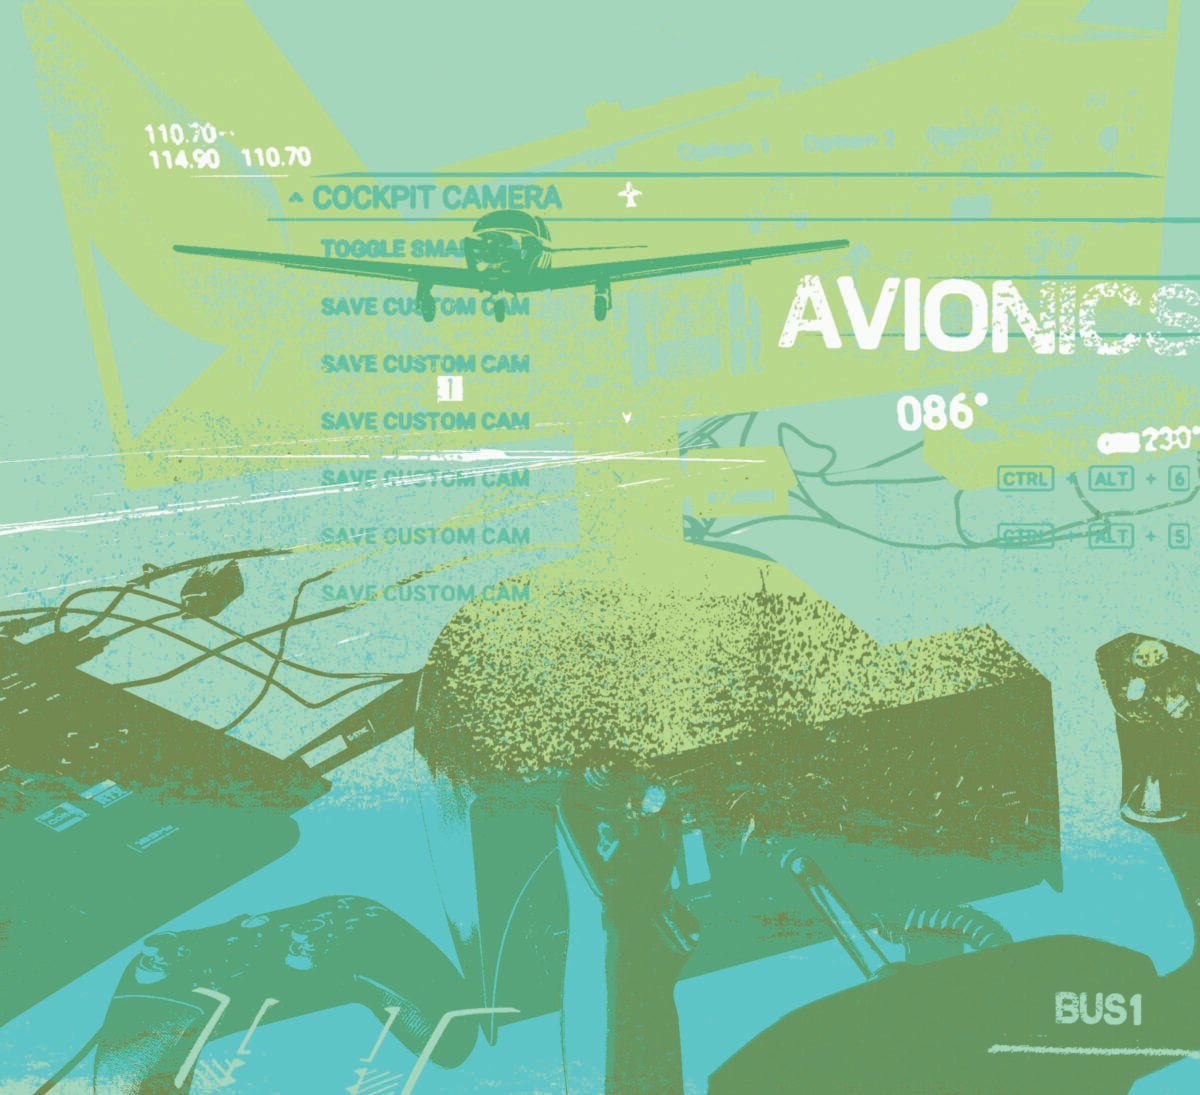
In Part 1 of my series featuring Microsoft Flight Simulator 2020 initial setup (May 2023/Issue 937), we discussed the importance of making instant views to use all the time when flying. Positioning yourself and creating the proper “captain’s eye point” is crucial in being able to fly like a real pilot would, as well as correct sight positioning and view toward the runway to enable landing like the pros.

For some reason, the default viewing height given is always in error, often too low to see properly over the “dashboard” or glareshield. Unless you’re a 5 year old learning to fly, the default viewpoints are always bizarre to me. After 10,000 hours of flying mostly corporate jets in my career, I can promise you that in order to get the best look and “feel,” please use the photo on the next spread to get a sense of the proper view height.

Whether it’s a transport category jet or Cessna 152,the same principles should apply: See enough of the panel to give you the PFD, or basic instruments such as speed, vertical rate, and some engine gauges, but then cut off the rest. You must see more than 50 percent of your view out of the front, as I have shown you in the image. You can have hot keys set for the rest of the panel or external views as we discussed earlier.

Featured

Once this pilot’s eye is set, the rest is not as important and can be anything you’d like to have in a “scan” or button press corresponding to all the 1-9 viewpoints you locked in before. Often people tell me if they set the view like that, they can’t see the primary gauges that well. I tell them, in real life, especially in jets where everything is bigger and farther apart, we can’t either.

Takeoff in jets is done by the nonflying pilot calling out our V-speeds. Same on landing. We actually have to scan down far away from the view outside to see our speeds and instruments. Thus, the nonflying pilot is again calling out everything we need to hear. I actually don’t see the airspeed indicator much at all in a jet on landing—or takeoff for that matter.

Adjusting the default viewpoints can be important when it comes to creating a realistic sight picture. [Courtesy: Peter James]

The Keys to It All

Onward to the important “key bindings” you’ll need to perform next in order to run your cockpit efficiently. Now, my key assignments are only an example, but they have worked great for me for more than 20 years in all simulators—and have never changed. Now with more hardware, these key assignments can be brought over to the Honeycomb system or whatever you may have at hand.

Let’s start with your keyboard F key row. I assign F1to 4 as some external lights.

Options/Controls Options/Keyboard/Filter All/SearchBy Name (insert “landing light” for example)/Toggle Landing Lights (then insert your key you want like F1)/Save And Exit

Continuing on, assign the following necessary key commands:

F5 Flaps Up/F6 Flaps Up A Notch/F7 Flaps Down ANotch/F8 Flaps Full Down

Recommended Autopilot Functions

I set up my system to actuate the autopilot using these key settings:

F9: Decrease autopilot reference airspeedF10: Increase autopilot reference airspeed

F11: Decrease autopilot reference altitude

F12: Increase autopilot reference altitude

V: Toggle autopilot V hold

Z: Toggle autopilot master

H: Toggle autopilot heading hold

L: Toggle autopilot flight level change

Ctrl-A: Toggle autopilot approach hold

Right Ctrl+=: Increase autopilot reference Vs

Right Ctrl+-: Decrease autopilot reference Vs

S: Autopilot airspeed hold

T: Arm autothrottle

[: Decrease heading bug

]: Increase heading bug

F: Flight director toggle

I have other controllers using the same commands, as often I may use a combination of keyboard and various controllers depending on if I am at home or on the road. Naturally these are just my personal choices that have worked well over the years for me. Once comfortable setting these up, you can choose anything you want. It will be easy and fast to configure.

Perhaps the most important buttons to assign in the entire program are “pitch trim up and down.” I use two buttons on my joystick for that, simulating the electric trim rocker found in most general aviation and jet aircraft of today.

Whether or not you have a simple or complex set of actual hardware to use, I would recommend attaching an Xbox 360 or Elite controller to the mix. It’s an inexpensive but very effective piece of hardware that in my case becomes a portable autopilot unit. The sim will take any number of hardware pieces running in harmony. This simple device can be used for basic flying, but I chose to disable all the default flight functions on my Xbox controller and have introduced many of the autopilot functions I just spoke about (see sidebar below).

Adding an Xbox controller to your setup can be useful. [Courtesy: Peter James]

Amateur, But It Works

In addition to either my joystick (THQ Airbus side-stick) or the Honeycomb yoke, I have my landing lights, strobes, nav lights, and taxi lights assigned for quick access. Speed brakes can be assigned to a joystick traditional throttle slider or fancier throttle quadrant unit.

Once you purchase your first set of controllers, MSFS2020 will by default load many of the most common functions, especially if using a name-brand throttle quadrant with panels and buttons built in. The Honeycomb system does just that, with obvious systems, such as landing gear, already mapped properly.

Now that hopefully you have set up your controls and views the way you like them, you are indeed ready to fly and explore the entire world in minute detail. Be sure to be safe, plan, and treat it like it is oh-so-very real.

One last necessary item I’d recommend is the added immersion you’d get by purchasing FSRealistic, available online. It adds the necessary vibrations, noises, head-shaking motions, and so on, that I myself as a real pilot find extremely necessary when flying the sim. By default, MSFS2020 is not that animated, but this add-on takes care of the necessary things I feel that I can not live without in a realistic flight sim environment. Give it a try.


Recommended Autopilot Functions On an Xbox Controller

On my Xbox controller, I have assigned the following:

LEFT FORWARD BUMPER: Flaps up a notch

LEFT STICK PUSH DOWN: Lower flaps a notch

RIGHT FORWARD BUMPER: Reduce throttle (used for engine reversers on jets if you don’t have a throttle system that specifically does this—normal throttle forward from any device will remove reverse thrust)

PLUS PAD UP: Heading hold

PLUS PAD RIGHT: Increase heading bug

PLUS PAD DOWN: Altitude hold

PLUS PAD LEFT: Decrease heading bug

RIGHT STICK PUSH DOWN: Gear toggle

Other buttons I have are dedicated to Autopilot master toggle, Flight director toggle, etc.


This article first appeared in the July 2023/Issue 939 print edition of FLYING.

Login

New to Flying?

Register

Already have an account?