Cessna 172 Annual: Part 2
We take a brief look at the complete annual inspection protocol for a Cessna 172.
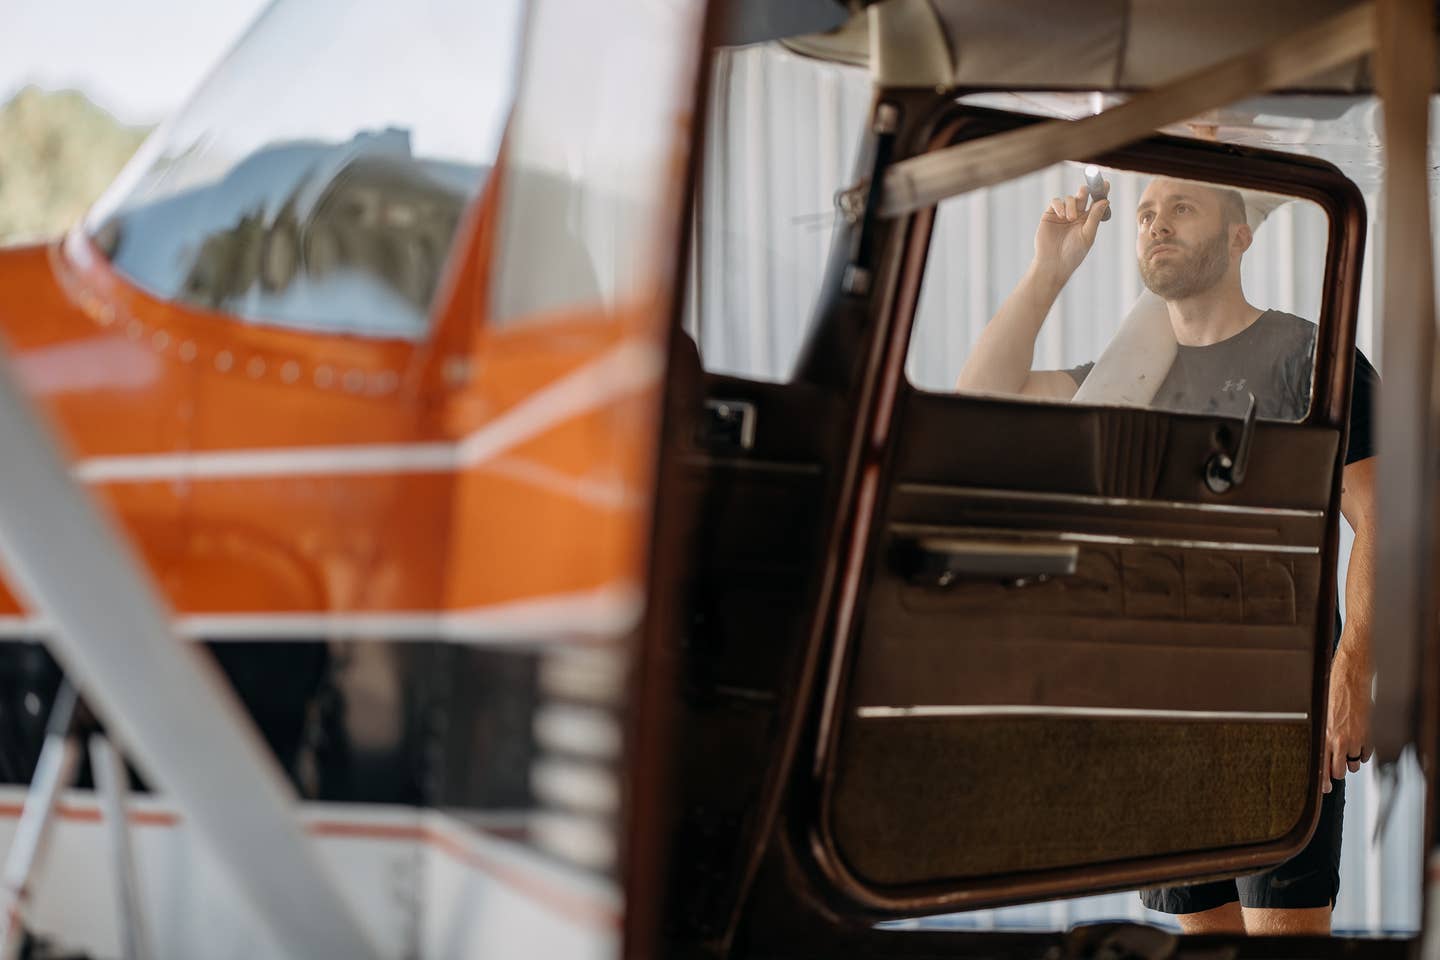
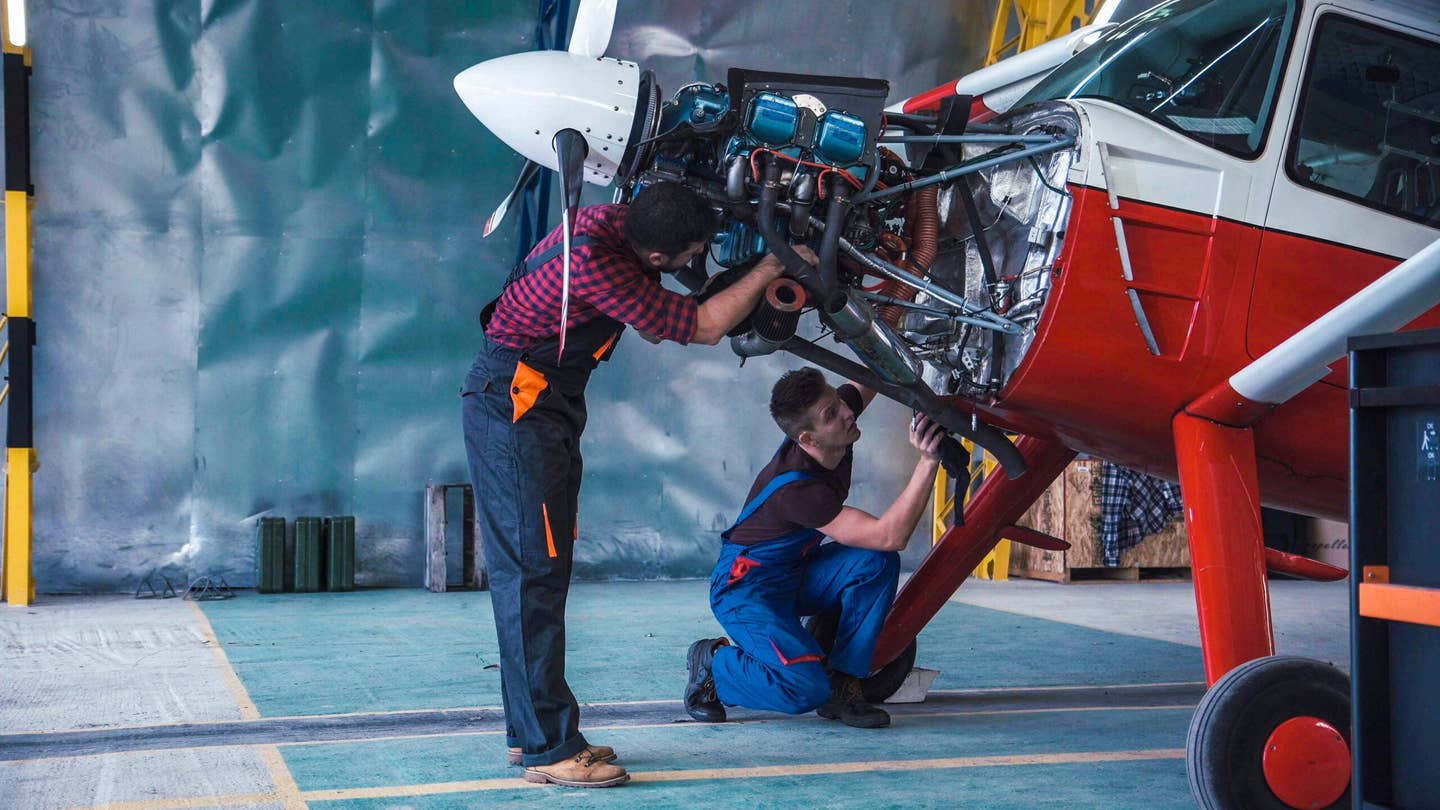
When beginning an annual inspection, the inspector will be on the lookout for cracks, carbon trails, oil leaks, and parts hanging. [Credit: Elijah Lisyany]
When we last left Corey, he had relocated his 1966 Cessna 172H to its new home in a T-hangar at Newnan-Coweta Airport (KCCO) in Georgia and was prepping for his annual inspection. He pulled the pertinent airworthiness directives (ADs), mapped out a plan, and reviewed other technical data like service bulletins (SBs). Now, it's time to get down to business.
Inspection
Using the AC 43.13 as his guide, Corey began diligently and methodically going over his airplane with a keen inspector's eye. These first few passes around are critical, as they will start telling the story of the state of your aircraft. It is essential to look for cracks, carbon trails, oil leaks, and parts hanging when they should be fastened.
To begin, Corey started to de-panel the aircraft. I am going to walk you through how we annual the aircraft. Pay close attention to the hardware and look for damaged fasteners, stripped screws, and spent lock nuts. Hardware is often overlooked, but remember, kids, hardware that leaves its assigned position becomes FOD. Make sure you have a mechanism to capture findings and a digital camera to record the event. Even an iPhone or iPad works and can be handy with the camera and notepad. Make sure to wipe off your hands before picking it up. Yes, I am speaking from experience.
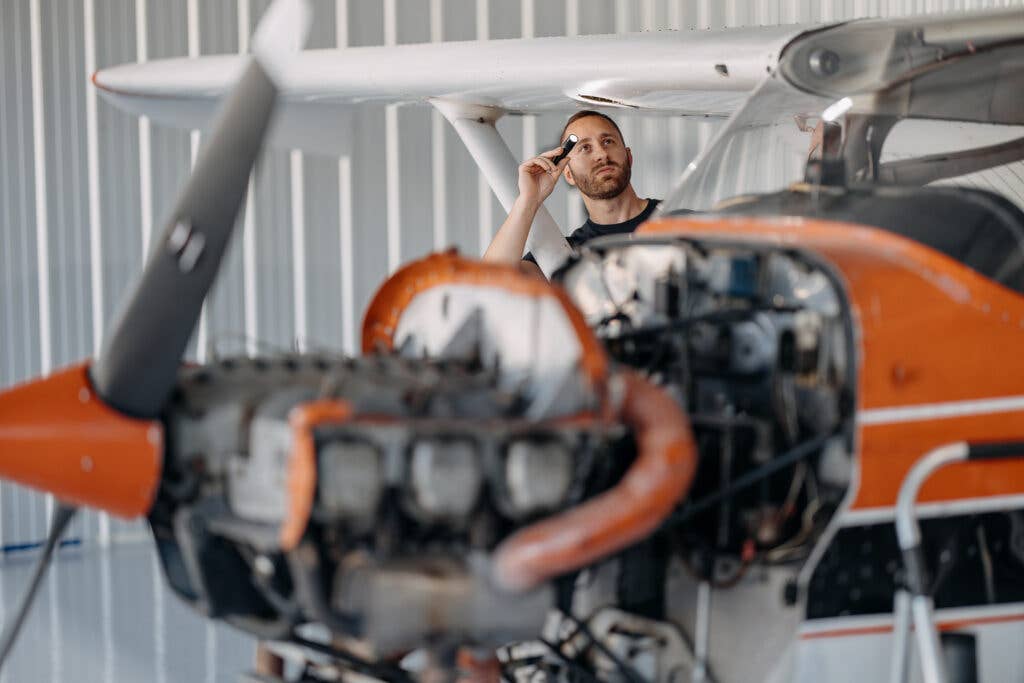
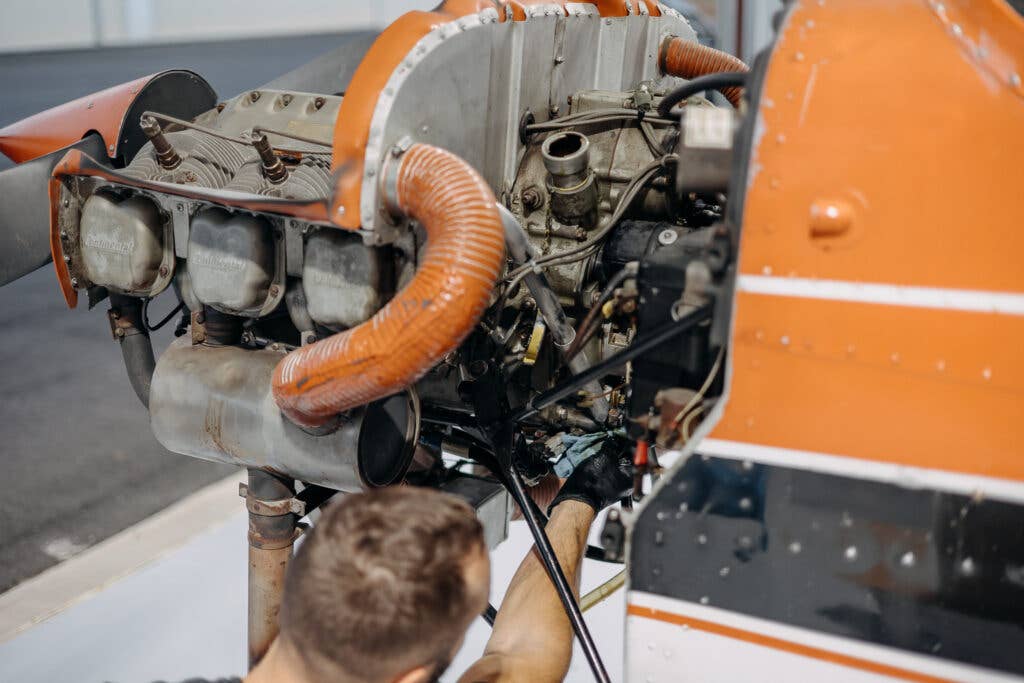
It is inspection time. Make sure you have a high-power flashlight and inspection mirror for those hard-to-reach places. Working his way around the flight controls, Corey was looking for cracks, corrosion, and metal fatigue. The flight control cables should be smooth and free from fraying. Ensure the pulleys move and run true. No wobble here, kids. Check the travel of everything in the system to make sure nothing is binding. It is important to lube the pulleys in the control system and check cable tensions using a tensiometer.
Now, on to the powerplant. Pull a compression check on each cylinder and record the findings. If they are good to go, consider yourself lucky and move on. If not, highlight any low cylinders and add them to your squawk sheet. Aircraft mechanics love saying “squawk sheet”—it is our term.
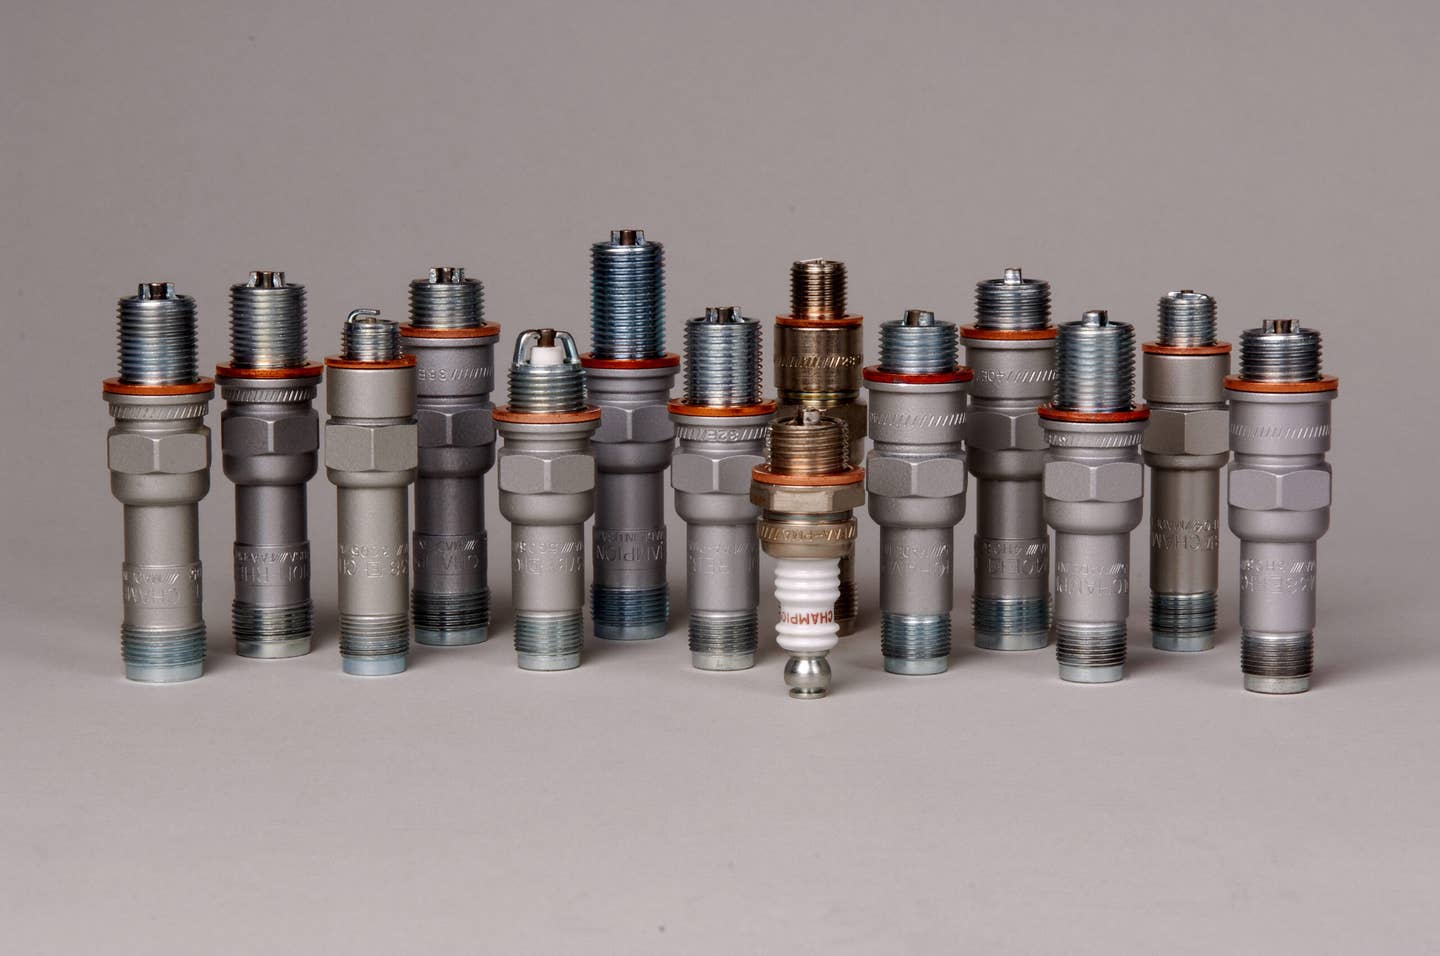
Pop out the spark plugs, clean and inspect them. Now, this would not be one of my articles without tech data, so make sure you bookmark the Tempest 1710A Spark Plug Guide for care and keeping of your plugs. Check the condition of the electrode, looking for stripped threads and carbon or oil fouling. Record and discrepancies in your what? That’s right. Remove and replace (R&R) any bad ones.
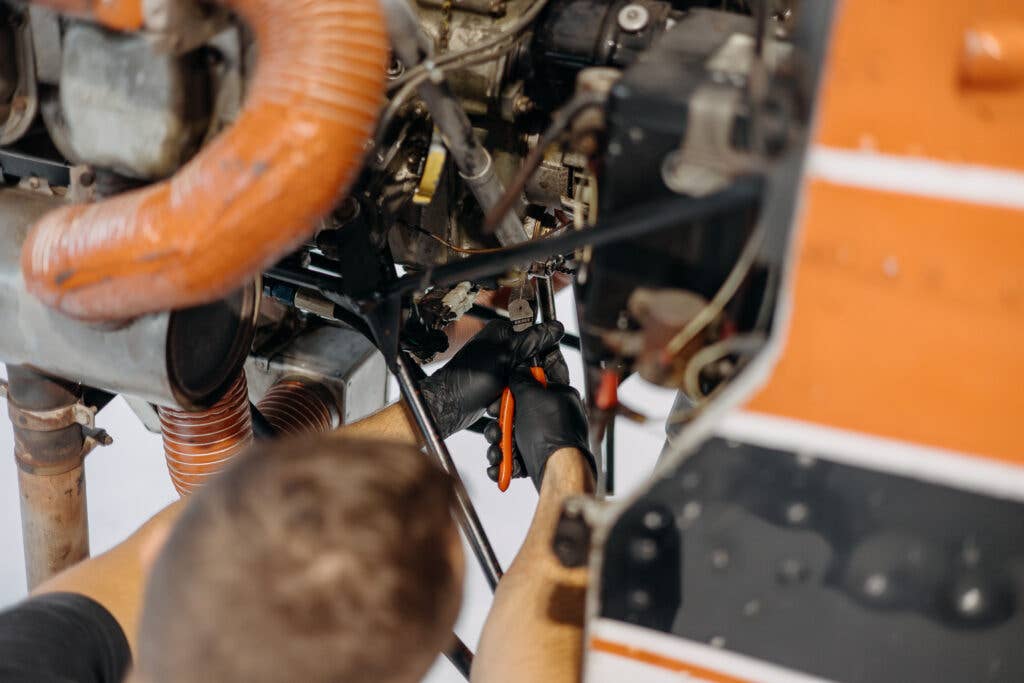
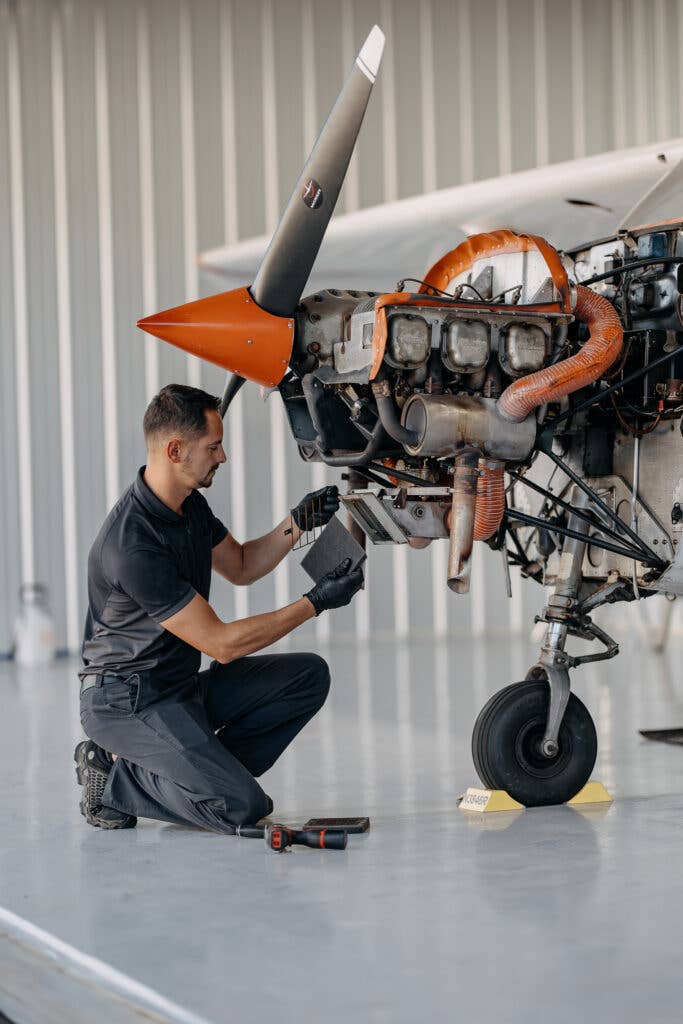
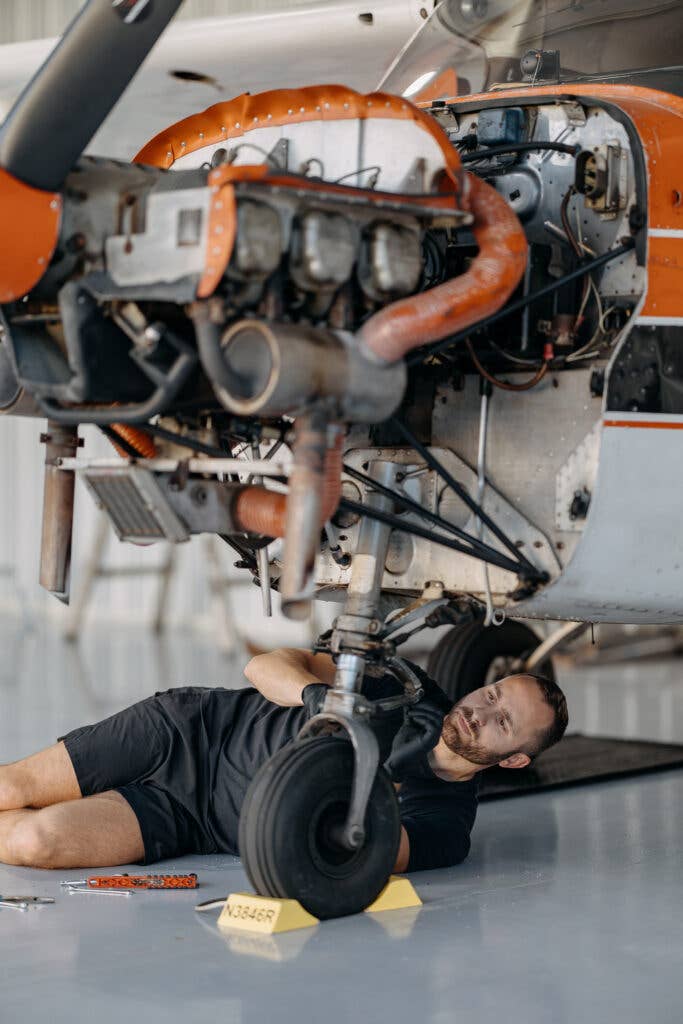
Working around the engine, look for oil leaks and chafing, check bolt connections, and ensure proper torque. If you happen to snug up a few through bolts, make sure you mark your spot with torque seal—it will help keep you on track. Do an oil change and check the screen (or filter for spin-on) for metal flakes. If you see chunks, stop and call your broker—you are going to need some cash. There are steps you can take to help keep things smooth in the engine. Corey uses AVBLEND to help keep corrosion internal to the engine at a minimum. Another preventative maintenance step is to perform an oil analysis. One solution is provided by Jet-Care International in Cedar Knolls, New Jersey. If done every few engine oil changes, Corey can keep an eye on the health of his engine by looking for spikes in certain metal content. Finish up under the hood by looking for cracks in baffling, stray lines, and oil leaks. You can even use a cell phone to borescope inspect (BSI) the exhaust baffle.
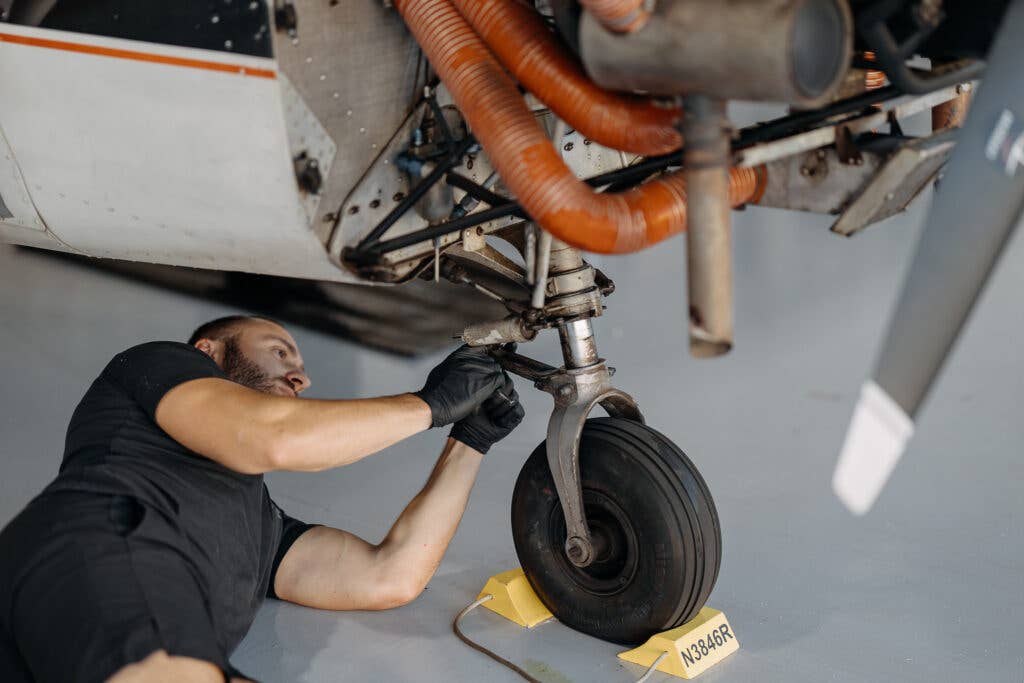
Keep working around the aircraft, perform a brake inspection, and replace pads worn to limits. Always check tire pressure and tread, then repack wheel bearings. Finish up by doing a walkaround, and Corey usually sprays Corrosion X in the wings and belly and fogs it.
Discrepancies
Now, it’s finally time to work on the squawk sheet.
- Squawk No. 1 was a nav radio inoperative. The corrective action was to replace a frayed ground wire. Checks good now.
- Squawk No. 2 was a nose-gear shimmy. The shimmy damper checked out, so Corey used a shim kit for the nose strut. Checks good now.
- Squawk No. 3 was wing strut fairings. Part of the correct action to R&R was to disconnect the wing strut. Checks good now.
The only other things Corey tackled were cosmetic items. He worked on the glareshield leather and had the center pedestal panel redone. Because he is the owner and operator, Corey prefers to maintain his aircraft throughout the year and not “wait for the annual” to address concerns.
Return to Service
Now is the moment of truth. It’s time to return the aircraft to service. After attending Bakers School of Aeronautics, Corey is now an IA and can sign off the annual. Corey reassembled everything, gave her a bath, and signed off everything in the logbook. To cap it off, he took a test flight over to Atlanta Regional Airport-Falcon Field (KFFC) just in time to witness a friend do his solo flight. That, my friends, is a job well done.

Subscribe to Our Newsletter
Get the latest FLYING stories delivered directly to your inbox

