Flying in the mountains is much safer when some specific mountain flying rules are followed. [Credit: Unsplash]
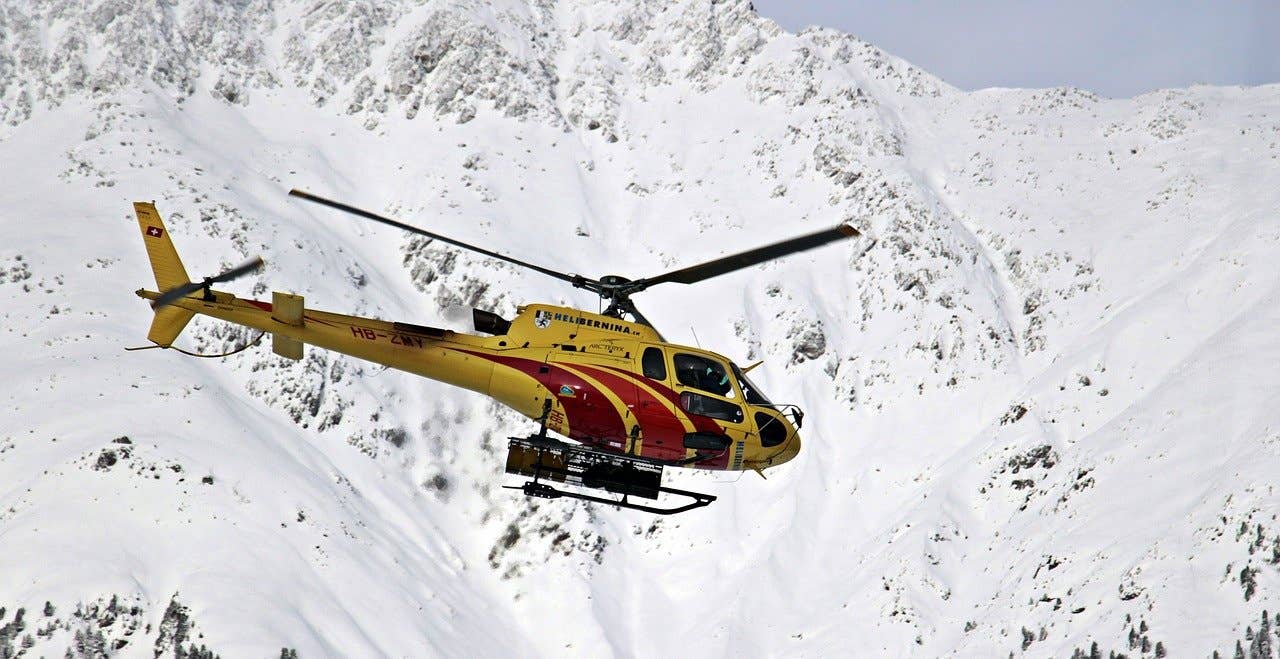
Flying in the mountains need not be dangerous if some simple mountain flying tips are followed. The issue is not the mountains per se, but the reduced energy available to aircraft flying at high altitudes, flying in confined spaces, and flying low to the ground. It's no wonder that the venerable Super Cub, with its fat wings and ability to fly at very slow speeds and still be well above the stall, became the quintessential mountain flying aircraft. (Along now with the Husky and Scout). So here are a few of my mountain flying tips for being safe in the mountains.
Airplane Energy
Remember, your airplane needs a minimum amount of energy, call it airspeed, to generate the lift necessary to fly. If you have too much airspeed, you may begin to pull parts off your airplane because you have exceeded its structural limits. This defines your airplane's flight envelope, (minimum energy to fly and maximum energy that doesn’t exceed the structural strength of the airplane), and as long as you stay within the flight envelope everything the airplane does it was designed to do. Also remember, you have the kinetic energy of speed and the potential energy of altitude (along with fuel in your tanks). You can continuously change one for the other. Just ask an aerobatic or glider pilot how they fly!
Join the Dawn Patrol
You have all seen the weather. When is it typically most calm? The answer, at first light. The air is cooler (more energy), with very little turbulence and not much wind. The perfect time for your mountain flight. Avoid flying later in the day if you can, and especially avoid flying when the winds aloft exceed 15 - 20 knots. The venturi effect and katabatic winds can be deadly. Also, avoid flying directly into the sun due to visibility issues. Pick your date and time carefully.
Never Fly Past the Point of No Return
This is perhaps the single most important tip for flying in the mountains: Never, ever, ever fly past the point of no return. So, what does that mean? Never put yourself in a situation where you cannot make a 180-degree (engine out at best glide speed) turn and go downhill towards lower terrain. If you cannot confidently do this, you have gone past your point of no return.
This tip just takes a bit more awareness of your situation than in normal “flatland” flying. Let's assume you are flying up a mountain valley (I know what you're gonna say, don’t do that, but give me a minute). As you fly uphill, the valley terrain typically constricts, the elevation increases, your airspeed speed may decrease and your turn radius will likely increase, not a good situation. So, to borrow from math, our first corollary is to avoid flying up a valley in the first place. Rather, try to start high and fly down the valley instead. But sometimes that is not much fun, so let's continue.
How Much Altitude Will My Airplane Lose?
When I conduct mountain flying training, I will gain altitude (lots of altitude), have the student reduce the throttle to idle, and turn 180 degrees. How much altitude did you lose? Better yet, reduce the throttle, count to 4 (an average of how long it may take you to recognize a problem in the first place), and turn 180 degrees. Again, how much altitude did you lose? Add a “fudge” factor to be even safer. If, as an example, you know you will lose 1000 feet, and you are only 500 feet above the ground, you are in big trouble. I do a similar exercise to demonstrate the futility of trying to turn back to a runway after a power failure on takeoff. Only in this case, after your 180-degree turn, you still need to make 2 additional 45-degree turns to get you back to the runway. Not gonna happen.
What Should I Do To Gain Altitude in My Airplane?
So now you know how much altitude you need to turn at your point of no return, what can I do? Again, a simple answer. Spiral. You can do a climbing spiral or a descending spiral. So when you are determining your altitude loss, practice spiraling up and down. Remember to use your rudders and lots of trim. As I am flying and begin to question my airplane's ability to outclimb the terrain, I’ll “stop,” don’t continue flying up the valley, and spiral up maybe gaining an additional 1000 feet in elevation, then continue. It’s that simple. (For an experienced mountain pilot or glider pilot, look for thermals!) I may do this several times during my flight. This is the basic technique I use to enable me to fly down the valleys in the first place. I spiral up, then fly downhill. If you need to land at a mountain airport that is typically at the bottom of the ridges, I spiral down to lose altitude, then set myself up for a landing. Spiraling directly above the airport may be advantageous in that it typically gives the most vertical separation between aircraft at the airport and gives you a chance to “inspect” the landing environment. Remember to use your radio and tell people what you are doing. Use the CTAF frequency and your compass. “Super Cub 123, a white super cub, is 2000 feet above snowyville airport, spiraling down to land to the south.” Sounds weird, but all the important information is communicated.
How Do I Know if I Can Outclimb the Terrain in My Airplane?
As an exercise, I have students “fly the contours.” In other words, follow the terrain. If the terrain goes up, I go up. The terrain goes down, I go down. I’m not always very interested in flying at a constant altitude. Be dynamic with your throttle. Add or reduce power when necessary. If you find yourself in a situation where you have full power, and your airspeed is trending below Vy, guess what, you will not outclimb the terrain, so break off, spiral for altitude, and try again. Get used to flying closer to the ground, and review § 91.119 Minimum safe altitudes: General.
Except when necessary for takeoff or landing, no person may operate an aircraft below the following altitudes:
(a) Anywhere. An altitude allows, if a power unit fails, an emergency landing without undue hazard to persons or property on the surface.
(b) Over congested areas. Over any congested area of a city, town, or settlement, or over any open-air assembly of persons, an altitude of 1,000 feet above the highest obstacle within a horizontal radius of 2,000 feet of the aircraft.
(c) Over other than congested areas. An altitude of 500 feet above the surface, except over open water or sparsely populated areas. In those cases, the aircraft may not be operated closer than 500 feet to any person, vessel, vehicle, or structure.
Cross Ridges at a 45 Degree Angle in an Airplane
Don’t fly perpendicular towards a mountain ridge. If you don’t like what you see, you now need to turn at least 180 degrees to fly away from the ridge. Rather, approach the ridge at a 45-degree angle. Now, a simple 45-degree turn places you flying away from that terrain towards your “safety zone.” Here is another tip. As you fly closer towards your ridgeline, if you begin to see more and more terrain in front of you as opposed to more and more of the valley on the other side of the ridge, you are not high enough. Turn 45 degrees, fly away, spiral up, and then continue.
What Side of the Valley Should I Fly in My Airplane?
Since so much of our discussion is to always be in a position that you can turn 180 degrees and fly to lower terrain and have more altitude between you and the ground underneath you, let's now address where in the valley you should fly. Flying up the middle of the valley may seem more comfortable, but now you have cut your turning area in half. Better that you “hug” on the side of the valley. But which side? Well, if you “hug” the downwind side of your valley, then turning 180 degrees may put you in the upwind side, free altitude! Or perhaps on one side of your valley is a steep rock cliff and the other is rolling hills, which would you want to aim towards? The real answer is to be more deliberate and have a reason for what you do!
Let's go Flying!
So let's go on a flight. It's 6 am. The air is cool and crisp, with no clouds and no wind. Our takeoff is picture-perfect as we turn SW towards our small mountain playground. There is no one around, so we decide to lose altitude and “hug” the ground. There is a small valley ahead of us. We decided to fly up its west side. At some point, we add full throttle and do a fun climbing 180-degree left turn (maybe even practice our Chandelle turn). Left turns are sometimes easier than right turns due to the airplane's left turning tendencies. That was fun. We now spot a very small canyon off to our left. We spiral up to gain altitude then turn and fly downhill down the canyon. We have lots of energy, so lots of control. But we reduce our throttle so as to not redline our fixed pitch prop. Ridgeline at 9 o’clock! We turn towards our ridgeline and begin to contour up its slope, flying at no more than a 45-degree angle to the slope. We add full power and soon realize we are not going to outclimb its terrain. No problem, turn 45 degrees away from the ridge back to the safety of the lower terrain and reduce our power as we notice the engine rpm’s increasing. We now add full power again and spiral up a thousand feet of altitude to approach our ridgeline again at a 45-degree angle. In front of us, we only see more of the ridge, so once again, we turn 45 degrees towards our lower altitude safety zone, adding power, and spiral. Ok, one more time we approach our ridge at our 45-degree angle. This time we see more of the valley on the other side. Eureka, we are high enough to cross! But this time, as soon as we cross over our ridge, we turn an additional 45 degrees and fly perpendicular from the high terrain to place us away from that terrain as soon as practicable. We look down and see our destination airport in the valley below us. We begin a controlled descending spiral over the airport to enter the traffic pattern, announce our intentions, and land without incident. We’ll take the low-level airway back to our departure airport later in the day, but for now, our mountain flying was as fun as it gets!
Start Utilizing These Mountain Flying Tips!
If all else fails, it may be more survivable to do a deliberately controlled flight into terrain (i.e. a really hard off airport landing) than to hit the terrain out of control. Make that decision sooner than later to increase your survival chances. Airplanes can always be replaced. Always have survival gear with you on your aircraft (I wear mine in a vest) and most importantly, tell a responsible person your plans, so rescue personnel can find you quickly.
Find someone with experience to “show you the ropes” and don’t be afraid of mountain flying. You just may become addicted! Keep yourself abreast of the most pertinent and recent information across the American aviation industry with a subscription to FLYING Magazine today!

Subscribe to Our Newsletter
Get the latest FLYING stories delivered directly to your inbox


