
Drones have taken the world of photography to a whole new level. Aerial photographs have become an easy thing to gain, thanks to advancements in drone technology.
However, in order to truly excel at capturing your subject properly using drone photography, it’s imperative to take the right steps. The most expensive drone may not be the right product for you. In fact, selecting the proper drone for you is one of the most crucial steps to take when first starting drone photography.
To help yourself capture the images you want, you must have the right equipment and use the proper techniques.
Did you know, drone operators are required by the FAA to be licensed? Our courses will help you achieve success as a commercial drone pilot. Pass the Part 107 test, take to the skies, and start earning money.
Enroll Now
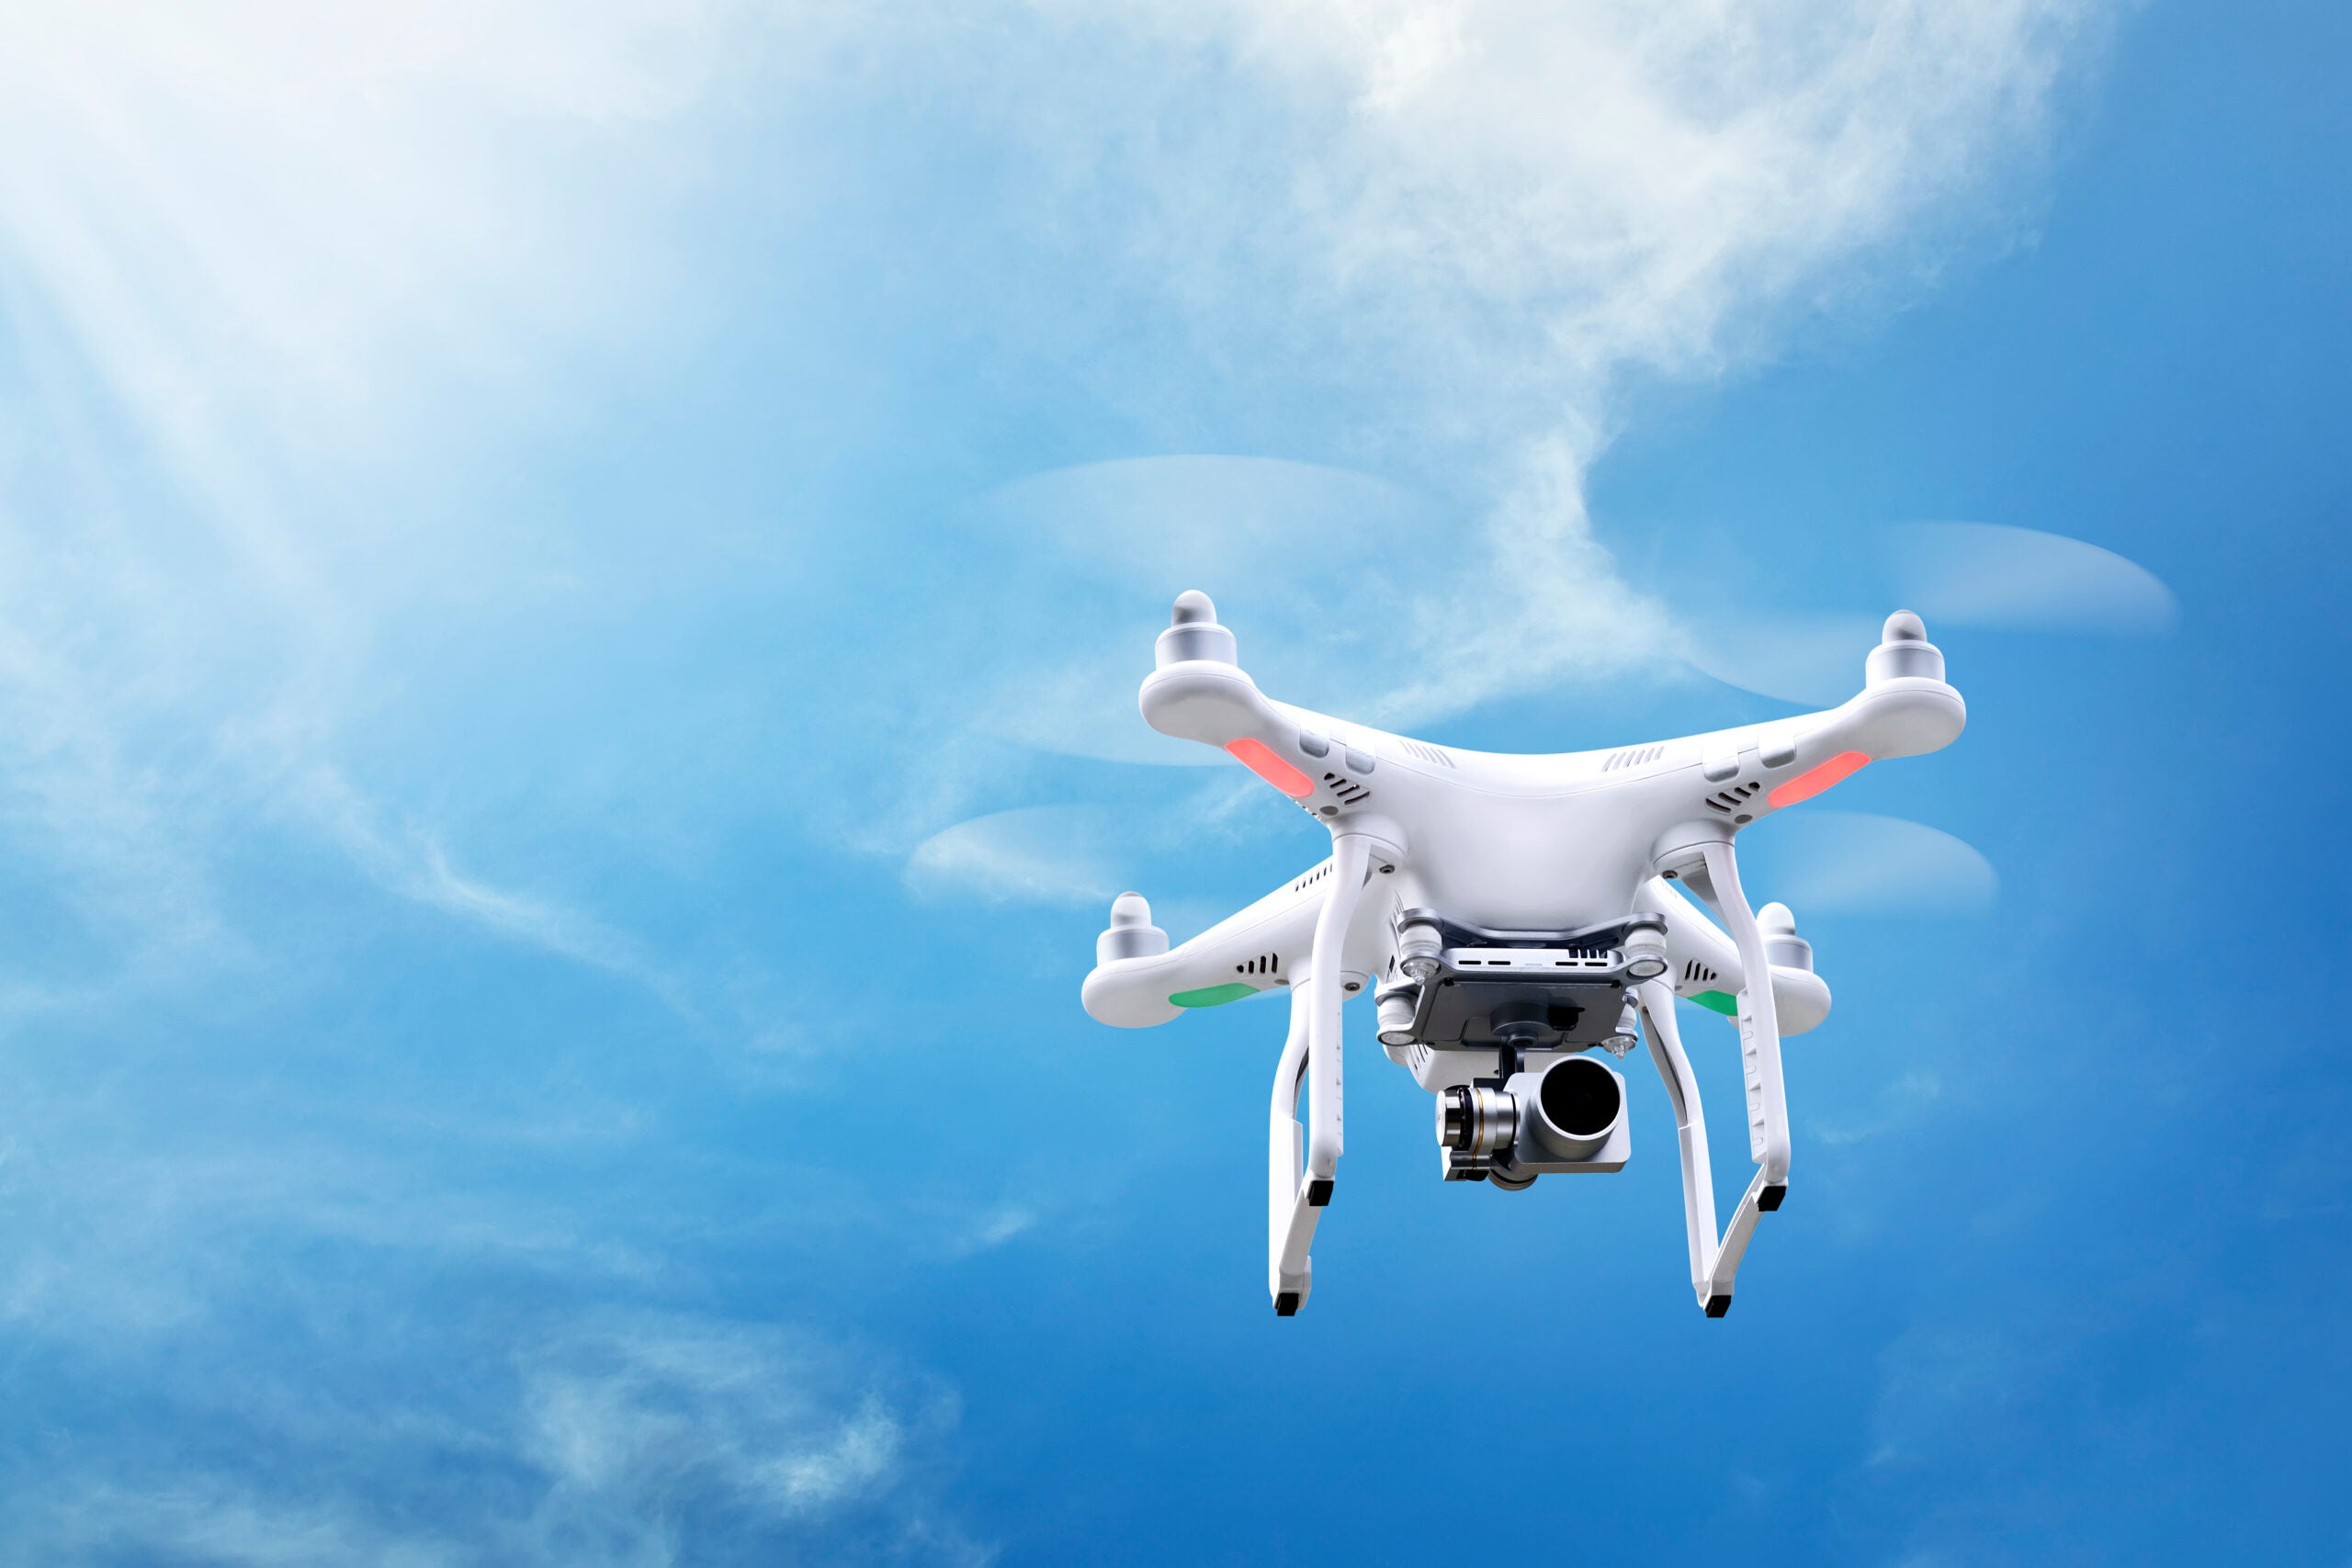
What Is Drone Photography?
Drone photography involves a person using an unmanned aerial vehicle (UAV), also called an unmanned aircraft system (UAS) or drone, to capture and process images and videos from the sky. Drone photography has expanded photographers’ potential tenfold with the bird’s-eye view that they provide.
The vantage points that are available when using drones in photography are incredible and they continue to deliver new perspectives in all environments. It just takes a little research and practice to blend photography and drones together perfectly.
How Does Drone Photography Work?
The two main types of UAS used for drone photography either come with a built-in or onboard camera or allow you to attach your own. Whatever type of drone and camera you are using for drone photography, you will have some type of remote allowing you to remain in control. Your drone and remote can communicate thanks to a range of available frequencies, which vary depending on your drone’s model and other factors.
Like your traditional cameras, the photographer must push the button to capture an image. Unlike traditional cameras, however, this button is located on the remote instead of on the drone or camera. Capturing images is a breeze in drone photography.
Video is transmitted and received through radio frequencies using the antennas on your drone. This allows you to have a live video feed on whatever type of remote or device you are using to control the drone.
8 Steps for How To Do Drone Photography
Getting into the world of drone photography can and should be fun. These simple steps can help you capture high quality images and videos anytime you’re flying your drone.
Step 1: Get a Drone to Meet Your Needs and Skills
Like anything, it doesn’t matter how impressive a product might be if you aren’t educated and able to use it properly. You can waste money by purchasing a drone you aren’t capable of using.
Not only can it be a waste of money, but without the proper understanding of your drone and camera, it’s nearly impossible to capture the high-quality images and videos you desire. Before purchasing a drone, you must decide whether you will be attaching your own camera or purchasing a drone with a built-in or onboard camera.
Both can be great options depending on your requirements. There are drones that have been designed specifically for aerial drone photography, meaning you can quite easily equip yourself for successful drone photography. Knowing what your drone is capable of is important, and this is a great thing to research before purchasing a drone.
The more you practice flying your drone, the more comfortable you will become and the more controlled your drone’s movements will be. The more comfortable and controlled you are as a drone pilot, the more success you’ll likely have as a drone photographer.
Step 2: Get the Right Equipment
If you decide on a drone model that allows you to attach your own camera, it’s critical to ensure you purchase the right gimbals, mounts, and other accessories. This will allow for seamless integration of your drone and camera.
Without the proper equipment, your chances of failure go up immensely. Without the right mount and gimbals, you won’t be able to securely attach your camera to your drone.
This means you’re likely to have an unstable attachment which could result in blurry images or even loss of your camera. Both are easily avoidable when you do the right research into the drone you purchase.
Proper balance is a necessity to ensure your drone can fly and operate properly. Be sure to always read the instruction manuals for your drone and camera.
Step 3: Understand How to Use Your Equipment
Drone photography is like many things in that understanding how to use your drone and camera are imperative to your success. Whether you’re using a drone with a built-in camera or a drone with a camera mount, being able to successfully fly your drone is key.
If you aren’t able to navigate your drone, it will be impossible to capture the images and videos you desire. Not to mention, you’ll likely frustrate yourself in the process.
With traditional photography, knowing the ins and outs of every aspect of your camera is a must. This is the same with drone photography, although you need to know all the features of your drone as well.
Again, utilize the instruction manuals that come with your drone and camera. Knowing what your equipment can do will only help you get the most out of it.
Enroll in Drone Pilot Ground School, an online test prep and training course, and pass your FAA drone exam on your first try — or your money back.
Learn MoreStep 4: Learn Drone Photography Techniques
Drone photography is no different than regular photography in that there are varying techniques that will help you capture those stunning images time and time again. The bird’s-eye view that drones provide can be hard to match, but you still need to know what to look for.
Finding symmetry and patterns in any scene will be beneficial for your images. Simple composition is often the best approach for successful drone photography, this helps your subject work for you while remaining the focus.
Framing also carries over into drone photography. Framing your images can help sharpen and define them. Varying filters continue to come available and it’s amazing what they can do for your images.
Be sure to play around with the various filters your drone or camera offers so you can maximize your camera’s potential.
Step 5: Research Drone Laws and Regulations
In 2021, the FAA updated Part 107 to more accurately cover the many types of drone pilots using the airspace. You can read Part 107 in full here.
With the popularity of drones only growing, it’s important to ensure every person piloting a drone is following the rules and regulations. With drone photography, adhering to the FAA and other airspace rules and regulations is essential.
There are also rules to follow to ensure people’s privacy remains protected. Understanding what is and isn’t allowed when flying your drone is key to becoming a trusted drone photographer.
Step 6: Plan the Location and Time of Day
Planning can be the key to success and this rings true in many industries, including drone photography. Thankfully, with drone photography, there’s a good chance you’ll know in advance what your requirements or projects are.
Ensuring you plan to shoot at the ideal time of day and at the right location will help you get the exact results you desire.
Lighting in both photography and drone photography remains a main factor. While editing has come a long way, the right lighting and location will help it all fall into place perfectly.
Help yourself capture things exactly as you’ve been imagining and plan your next drone photo shoot out thoroughly. As with any camera, bringing extra batteries and other parts is always recommended when possible.
The shot may take longer than expected and if you’re prepared, you’ll have far less to worry about.
Step 7: Edit Your Photos
Any experienced photographer knows that editing is a major factor in producing a great photo. When you shoot in raw format, you allow yourself to capture more.
This in turn often allows you to apply more professional techniques and remain more in control of your images. While not all drone models allow you to shoot in raw image format, there are many that do.
This may require more of an investment, but how serious you are about drone photography will help you decide whether it’s worth the expense. Drones that do not allow you to shoot in raw format will shoot in JPEG format.
When it comes to software programs for editing your photographs, you’ve got quite the list of options. You can edit out people or objects, lift shadows and tweak colors, contrast, and more. Knowing how to properly edit your images is a great way to set yourself apart as a professional drone photographer.
Step 8: Get Necessary Add Ons
There is so much potential with drone photography and with that comes a plethora of add ons and accessories. From fun additions like landing pads and lights to more necessary items such as batteries, always be sure to have what you need when flying.
Bringing extra batteries, SD cards, propellers, propeller guards, and more will all help to ensure that you capture the images you want. Add ons can help you set yourself up for success on any drone photography outing.
Expand Your Photography Potential With Drones
Both experienced photographers and those just diving can expand their craft and customer base with drone photography. Providing your client, friends or family, whatever their needs, with a wow experience will be a given when you research and take the right steps to integrate drone photography into your business or hobby. Read FLYING Magazine to learn the latest aviation tips and techniques and see examples of great drone photography